Wireless printing has made completing print jobs far easier than it used to be. It comes with real advantages over wired connections, which is why virtually every printer released today ships with Wi-Fi built in. Older models can often be retrofitted with a Wi-Fi adapter, but that’s a separate topic.
Connecting a printer to your regular home or office network is usually straightforward. Connecting it to a guest Wi-Fi network with a splash page, however, is a different story — and it’s a question we get asked constantly. Here’s an updated, practical breakdown of how guest networks work, why they often block printing, and what you can actually do about it.
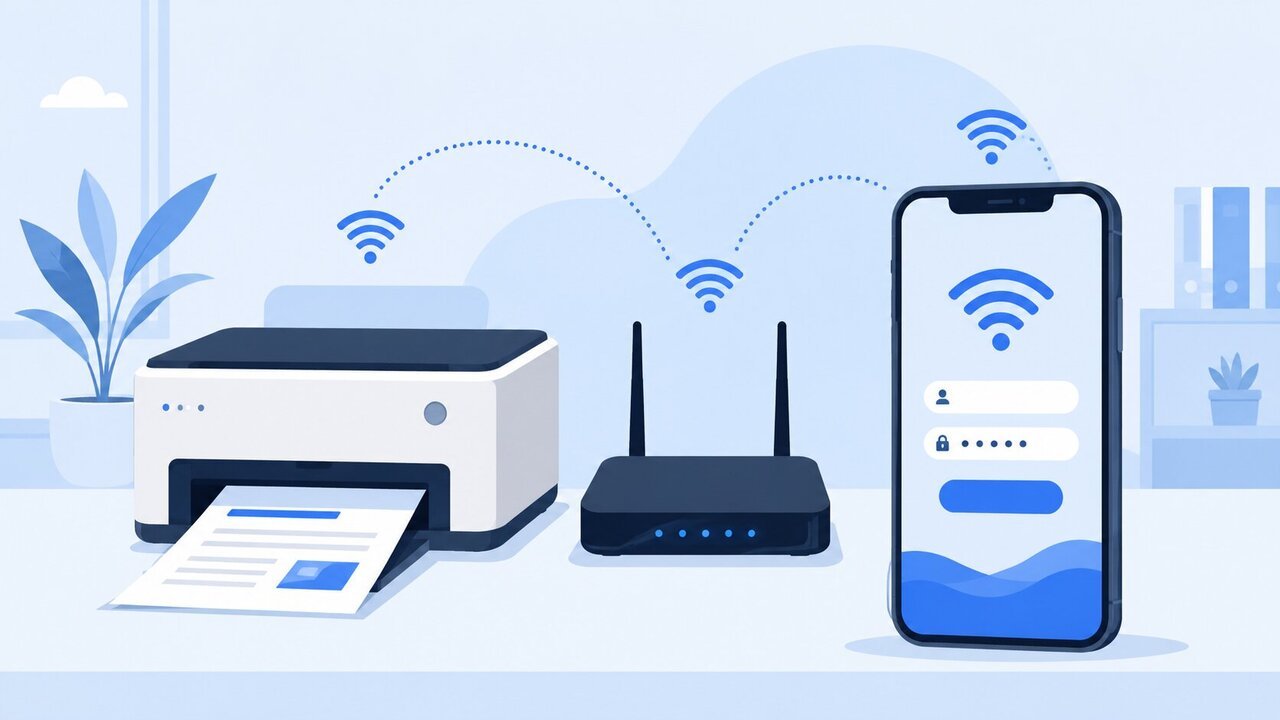
What Is a Guest Wi-Fi / Splash Page?
Keeping your main network secure matters. Hackers and malware regularly target home and business Wi-Fi networks to steal data or hijack devices, so it’s worth protecting anything connected to your primary network.
If you have visitors, customers, or employees who need internet access, handing out your main Wi-Fi password isn’t ideal — a compromised guest device could expose everything else on your network. The fix most routers offer is a guest network: a separate SSID that gives people internet access without any visibility into your main devices.
A splash page is the login or terms-of-use screen guests see before they’re granted access — common in cafes, hotels, offices, and airports. Many consumer and business routers now build guest network creation directly into their setup app.
Can You Print Over a Guest Network?
Usually, no — not without changes. Most guest networks use a feature called client isolation (also called AP isolation), which is on by default for good reason: it stops guest devices from seeing or talking to each other or to anything on your main network, including your printer. This is a security feature, not a bug, so don’t assume something’s broken if printing doesn’t work out of the box.
Whether you can print from a guest network depends on:
- Whether your router’s guest network supports disabling client isolation for specific devices
- Whether the printer and the sending device are even on the same guest SSID
- Whether the printer manufacturer’s app or driver requires it to be on the same subnet as the computer/phone
If you consistently can’t print at all, even on your main private network, that’s a separate hardware or driver issue — check the printer manufacturer’s support site or a local repair technician rather than assuming it’s a guest-network problem.
How to Give Your Printer Access to the Guest Network
Not every router supports this, but many current models do. Steps vary by brand, but the general flow is the same:
1. Log in to your router’s admin interface
Open a browser and go to your router’s IP address (commonly 192.168.1.1 or 192.168.0.1) or use the manufacturer’s app (most current mesh systems — Eero, Google Nest Wifi, TP-Link Deco, Netgear Orbi, ASUS routers, etc. — are now managed primarily through a mobile app rather than a browser page).
2. Find the guest network settings
Look under Wireless Settings, Guest Network, or in your app’s main dashboard. Some interfaces bury this under Advanced or Guest Access.
3. Turn off client isolation, or allow specific devices through
This is the setting that actually matters. Depending on your router, you’ll see one of:
- A toggle labeled “Allow guests to see each other” or “Allow guest access to local network” — turning this on defeats the purpose of a guest network somewhat, so only do it if you trust the risk trade-off.
- A more targeted device access control / allow list, where you can permit a specific printer while keeping isolation on for everything else. This is the safer option when available.
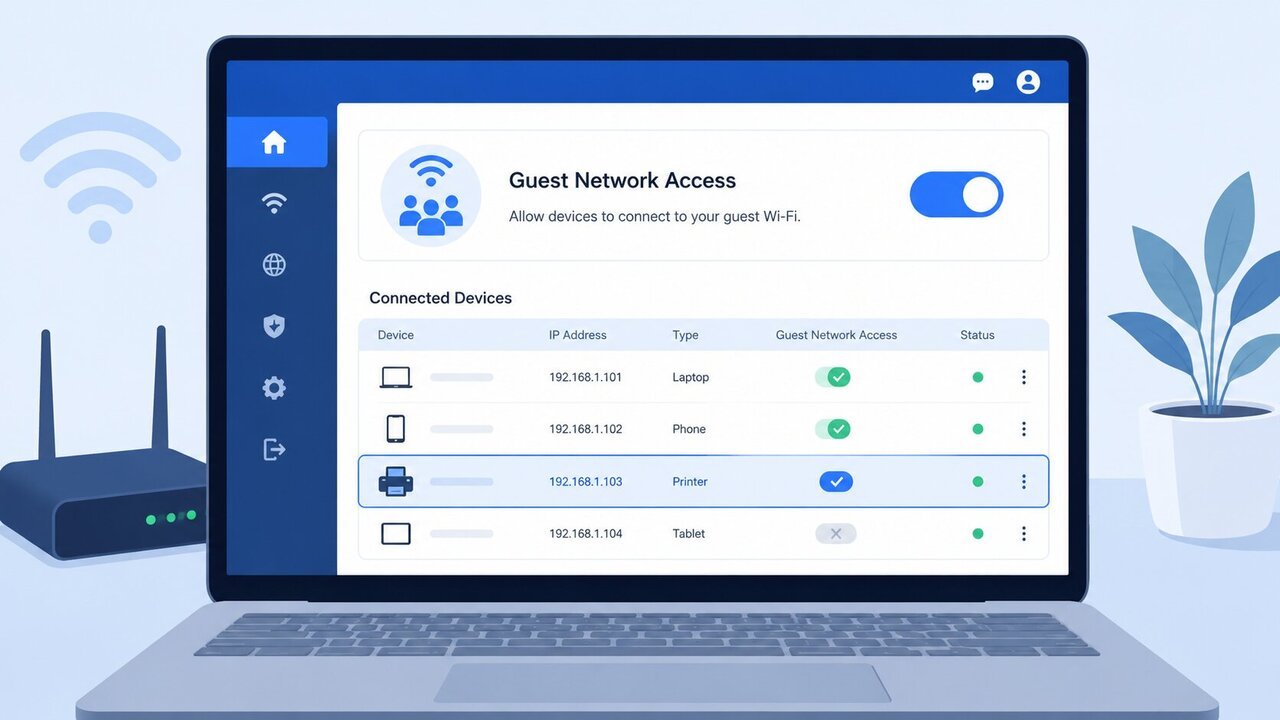
4. Add the printer to the access list (if supported)
If your router supports per-device rules, add the printer using its MAC address rather than its IP address. IP addresses assigned by DHCP can change; a device’s MAC address doesn’t, so it’s the more reliable identifier for access rules. You can usually find it printed on a network status page from the printer’s own menu, or in the router’s connected-devices list.
5. Save and apply
Confirm the changes, then try printing again. Some routers require a reboot of the guest network (not the whole router) for the change to take effect.
If none of these options exist in your router’s interface, it likely doesn’t support opening the guest network to specific devices at all — you’ll need one of the alternatives below.
Is It Safe to Loosen Guest Network Isolation?
For the admin: allowing one trusted device (your printer) through client isolation is a modest, generally low-risk exception — printers are rarely high-value targets, though they have occasionally been used as a foothold in larger attacks, so keep the printer’s firmware updated. For guests, the network still functions the same way for internet access; the only change is that their devices may now be able to see the printer on the network.
If you’re worried about unwanted devices connecting to your guest network at all, most router apps let you view connected devices in real time and block any you don’t recognize, or simply rotate the guest password.
Alternatives to Printing Over a Guest Network
If your router won’t allow it, or you’d rather not loosen isolation settings, here are the more reliable options today:
1. Use a private network connection
If you have access to the main network, connect the printer there directly instead. On both Windows and Mac, this means selecting the printer from Settings > Bluetooth & devices > Printers & scanners (Windows) or System Settings > Printers & Scanners (Mac), then adding it once both devices are on the same network.
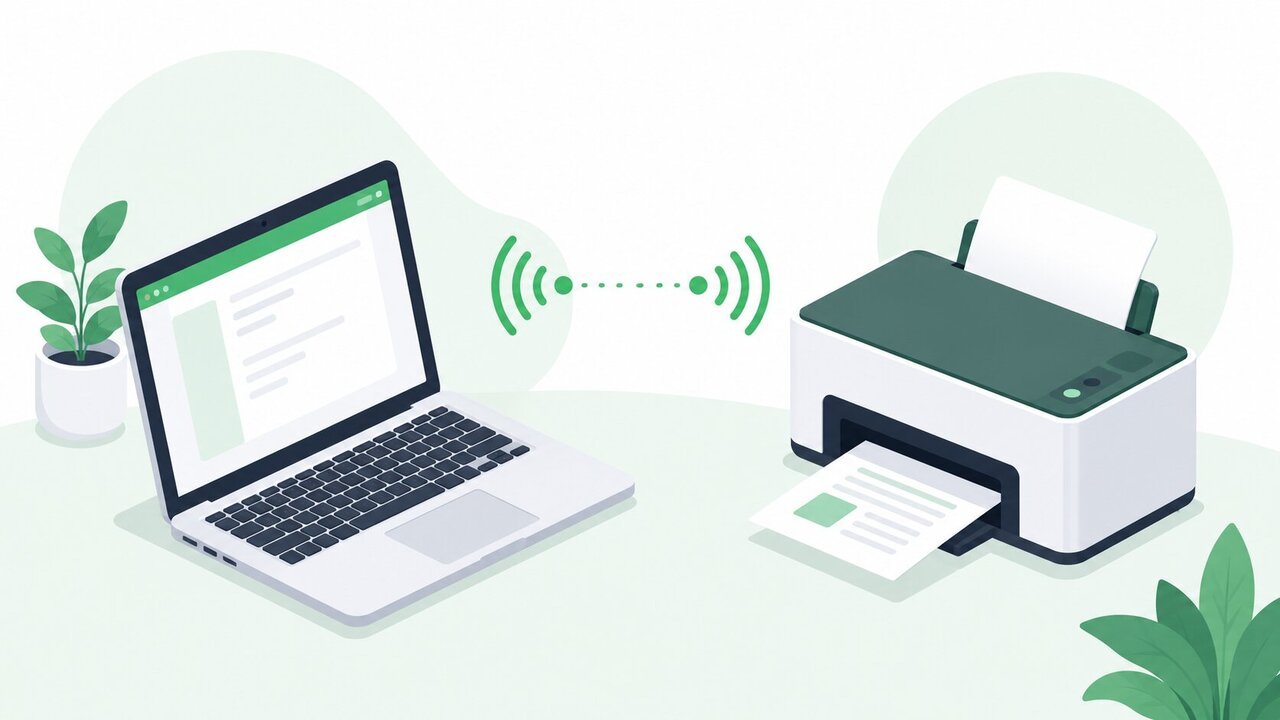
2. Use Wi-Fi Direct
Wi-Fi Direct connects your computer or phone straight to the printer without going through any router at all, which sidesteps the guest-network problem entirely. On the printer, enable Wi-Fi Direct from its control panel or companion app (HP Smart, Canon PRINT, Epson Smart Panel, Brother iPrint&Scan, etc.) and note the network name (usually starting with “DIRECT-“) and password. On Windows 11, go to Settings > Bluetooth & devices > Printers & scanners > Add device, and select Show Wi-Fi Direct printers. On a Mac or mobile device, just join the printer’s Wi-Fi Direct network from the Wi-Fi list like any other SSID, then add the printer normally.
Note: while connected to a printer’s Wi-Fi Direct network, most devices lose their regular internet connection, since Wi-Fi Direct replaces your Wi-Fi connection rather than running alongside it.
3. Print via mobile with AirPrint or Mopria
If Wi-Fi Direct setup feels fiddly, most current printers support AirPrint (iOS/Mac) or Mopria (Android) directly from the share/print menu of an app, without installing drivers — but these still require the phone and printer to be on a network that allows them to reach each other, so the same guest-network isolation issue can apply.
4. Print over USB or Bluetooth
The simplest guaranteed fix: a direct USB cable, or Bluetooth if the printer supports it. No network settings involved at all.
5. Use cloud printing where the printer supports it
Some business-grade printers still offer manufacturer cloud-print services (e.g., HP’s ePrint-style features) that let you email a document to the printer or send jobs from anywhere online, bypassing the local network question altogether. Google Cloud Print itself was shut down some years ago, so don’t rely on that specific service if you see it mentioned in older guides.
Guest networks intentionally keep devices isolated from each other for security, which is why printing often doesn’t work by default. If your router lets you exempt a specific device (ideally by MAC address) from that isolation, you can enable printing with minimal risk. If not, Wi-Fi Direct, USB, or connecting through your main private network are the most dependable workarounds today.
Join Our Telegram Group

Join Our WhatsApp Group