Enjoy the convenience of securely seeing your Tally Prime reports in browser from any location, on any device, in a browser. Tally Prime and a device with a web browser and an internet connection are all you need.
 Anywhere, any device: You may see Tally Prime reports in browser from anywhere using any device that has a web browser and an active internet connection, such as a laptop, Smartphone, tablet, and so on.
Control and security: You have total control over who reads the reports and which reports are provided to a user. Furthermore, your data will remain in your computer at all times. When a user displays a report in a browser, just the data needed for that report is retrieved from Tally Prime.
How to Use Tally.Net Feature
Reports shown in a web browser: When you log in to the Tally portal, choose the firm, then the report from the list that appears. The most recent data is retrieved and shown in the report. To obtain more information, you can dig down to the report’s subsequent tiers. You may also adjust the report’s time frame. To see the most up-to-date information, refresh the page.
Reports and Invoices May Be Downloaded: You can open a report and save it in PDF or Excel format. You may go all the way down to the voucher level. Invoices and other documents can also be downloaded.
Connect Company in Order to Read Reports on a Browser.
To link the firm, at least one Tally.NET user with access to Tally.NET services should have access to browser reports.
You can link a company without activating security starting with Release 6.6.3. While attempting to connect the firm, you may also:
- Allow a person with access to your account to view browser reports and connect the firm in a single flow.
- Enter a new e-mail address to activate and grant access to Tally.NET services on the fly using authorized credentials.
- If necessary, enhance security and grant additional individuals access to browser reports.
To link the firm, you must have an internet connection on the computer where Tally Prime is installed.
- 1. Press Alt+K (Company) or choose Company from the top menu bar > Connect.

- A) Use this approach to connect the firm in a single step by selecting an existing user or adding a new user to provide browser access.
- In the E-mail ID for Browser Access section, choose the Tally.NET user from the list of Tally.NET users to whom you intend to allow browser report access. your account, OR choose New User to enter a new e-mail Id, OR choose None to deny access to any user.
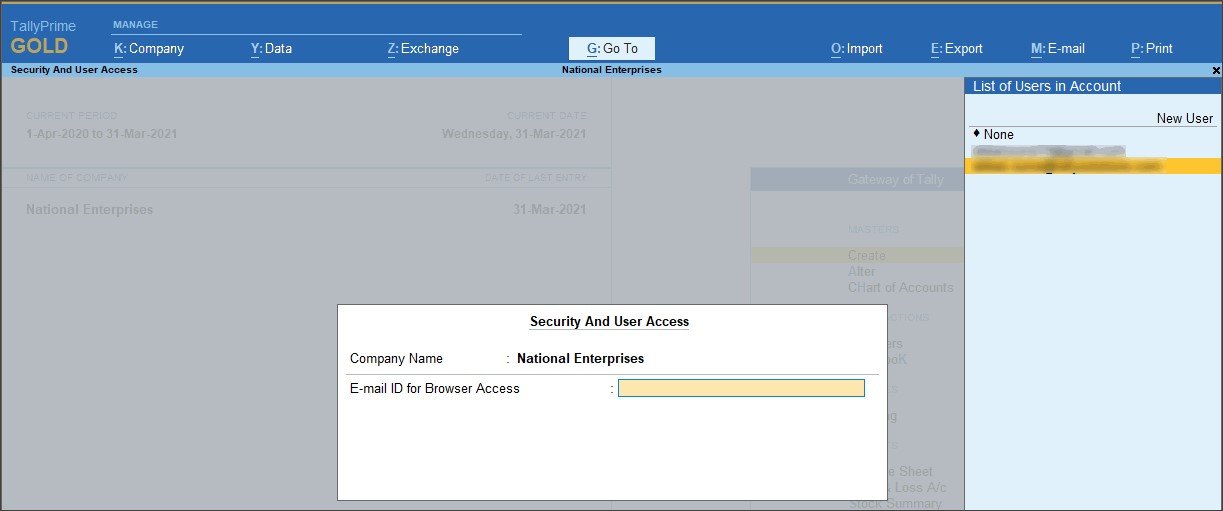
- Tally Prime will check if the given user (e-mail Id) has access to Tally.NET services and is a genuine Tally.NET user. If they are invalid, a message occurs that allows you to activate the access and create the user with Tally.NET services access by inputting your authorized credentials.
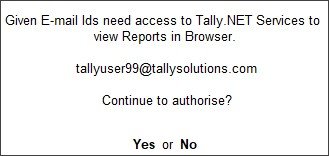
- Select Yes to enable or No to proceed. When you click yes, the login screen appears.

- You can enter your account admin user name and password, or any other Id and password with permissions to add users to your account to authorize access to Tally.NET services for the user, or you can establish a Tally.NET user with access to Tally.NET services for the e-mail Id.

- When access is granted to the specified user or when a new user is created with access to Tally.NET services, a success message is presented.
- To accept and connect, press Enter.
- B) Use this process to enable security and provide more Tally.NET users access.
- Press Alt+K (Company) or choose Company from the top menu bar > Connect > Alt+S. (Use Security)
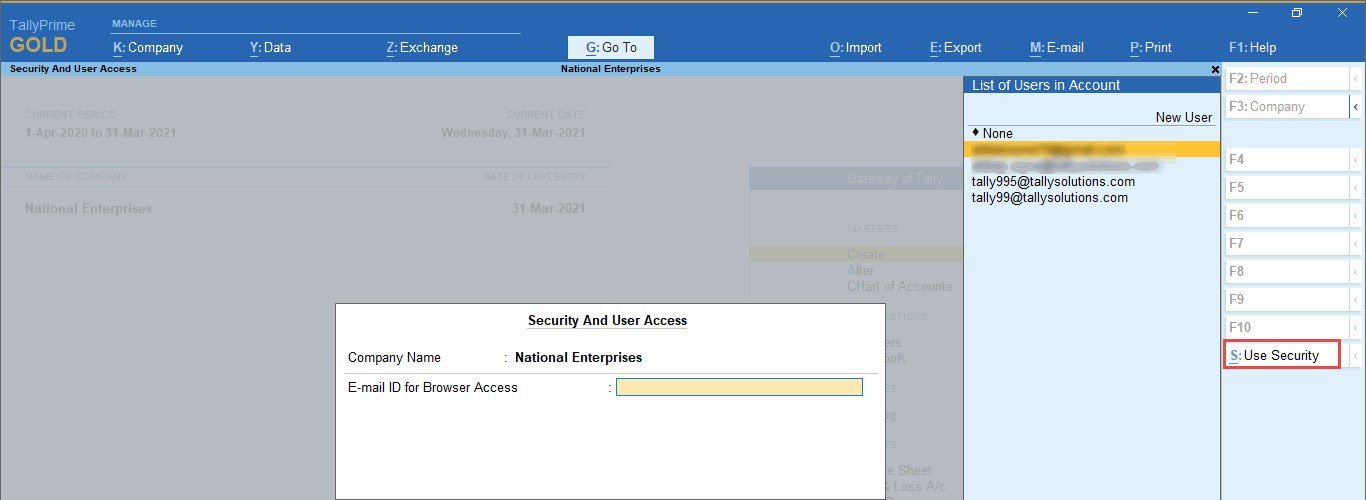
- Select the option yes is selected for Control User Access to Company Data. Give the administrator your contact information. This is the login information for the company’s data.

- In the E-mail ID for Browser Access section, choose the Tally.NET user from the list of Tally.NET users to whom you wish to allow browser report access. Your license, OR choose New User to enter a new e-mail Id, OR choose none to deny access to any user.
- Select Yes for the option Set/alter Browser Access to More Users.
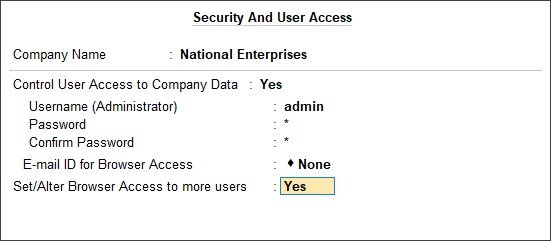
- Enter to bring up the Users for Company screen.
- Select the Tally.NET Owner Security Level. Learn more about building Security Levels by clicking here.
- In Username, choose the Tally.NET user to whom you want to grant browser report access from the list of Tally.NET users associated with your account OR choose New User to enter a new e-mail address.
- Select the Allow Browser Access checkbox.
- Similarly, include information about any additional users.

- Enter to accept the supplied details.
Tally Prime will check whether or not the selected users have access to Tally.NET services or whether the given users (e-mail Id) are authentic Tally.NET users. If they are not genuine, a notice appears allowing you to enable or create users with Tally.NET services access by entering your authorized credentials. Click yes to enable or No to proceed.
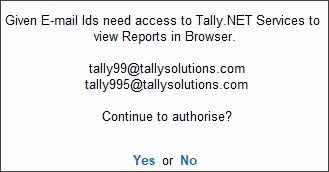
- Select yes to display the login page or No to proceed. When you click Yes, the login screen appears.
- You can enter your account admin user name and password, or any other Id and password with permissions to add users to your account to authorize access to Tally.NET services for the user, or you can establish a Tally.NET user with access to Tally.NET services for the e-mail Id.
- When access is granted to the specified user or when a new user is created with access to Tally.NET services, a success message is presented.

- To accept and connect, press Enter.
Now that the firm is linked, a (c) shows next to the company name in the List of Selected Companies in the Tally Gateway.

When an authorized user login into the Tally portal, the linked firm displays in the List of Companies as Connected.

- Select yes to change the Company Display Name. A sub screen containing the Company Display Name displays, which you may change.

The Contact Details (Alt+K (Company) > Online Access > enter or choose Contact Details) screen is updated with the new Company Display Name.


