Here is the Preview of this TDL file
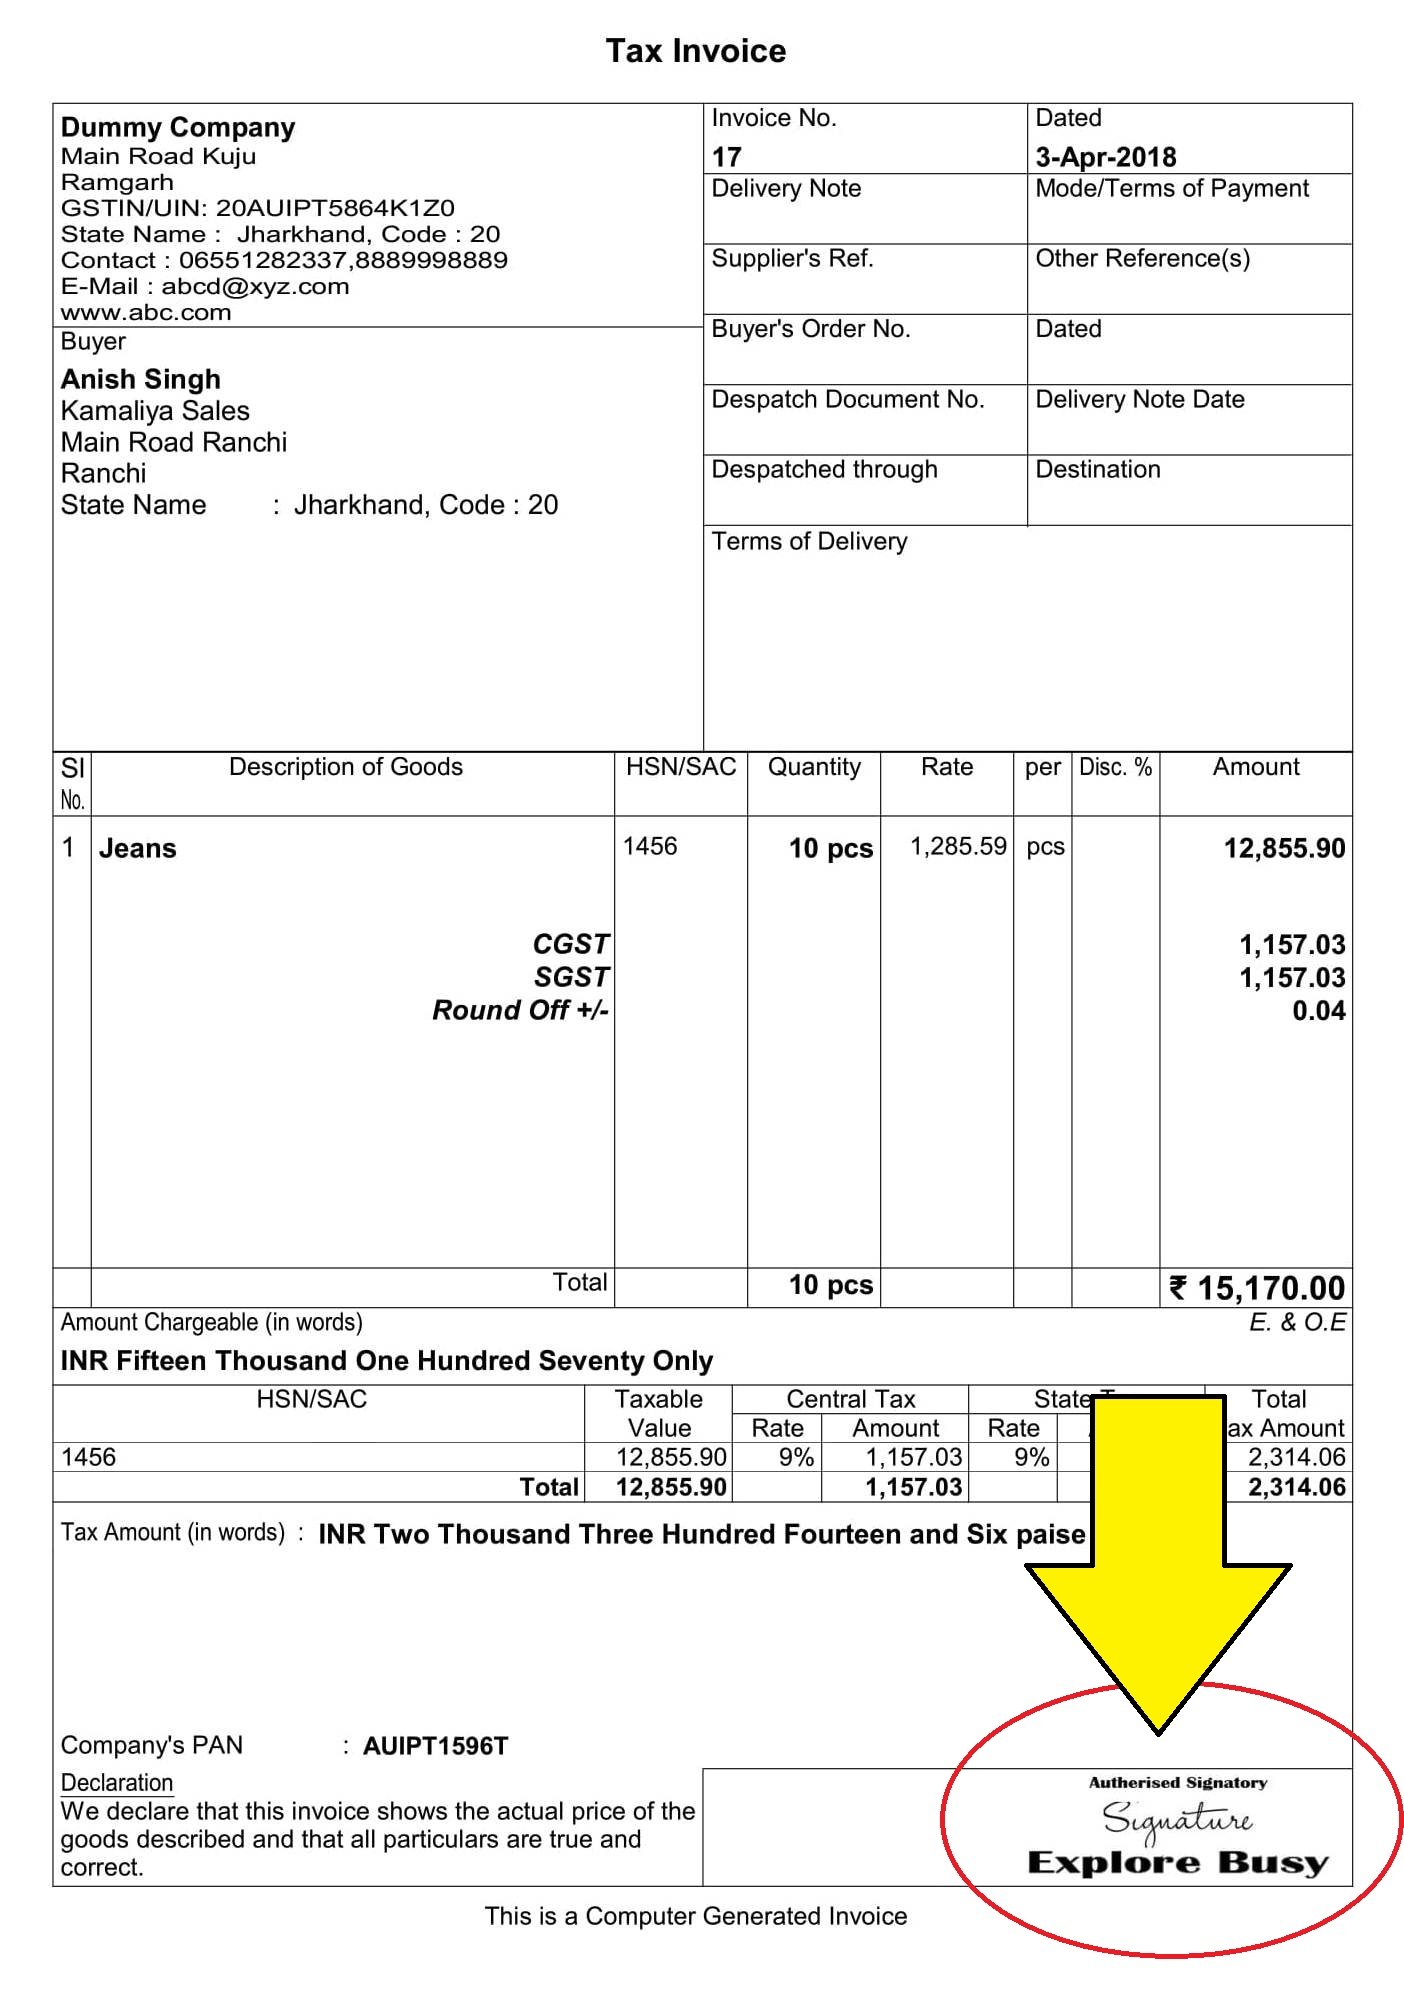
How to Install the TDL File in Tally
Step 1. Go to Gateway of Tally.
Step 2. Then Press Ctrl+Alt+T button
Step 3. Now Press F4 Button or Click on “Manage Local TDL” button
Step 4. Now do “Yes” to “Loan TDL Files on Startup” option
Step 5. Now in the next line “List of TDL Files to preload on Startup” Enter the TDL File Path or Location Like “E:File.tdl”
Step 6. Now save the settings
Your TDL File is ready to use.
Watch this Video to Learn

Join Our Telegram Group

Join Our WhatsApp Group


how to show on print signature
Authorized Signatory TDL with Company Seal in Tally ERP 9 || SEAL AND SIGN TDL
THIS TDL NOT WORK IN SIMPLE FORMET BILL PRINTING.
after adding the TDL file its asking for TDL key
so can anyone help me with it
I NEEDS DOUBLE DISCOUNT PERCENTAGE AND AMOUNT COLOUM IN TALLY ERP 9. PLZ PROVIDE SUCH TDL FILE
I have three company in tally so apply signature TDL . This tdl work in every company please solve this problem.i want different sign in difrent company
Hello, Ineed the seal and Sign tdl can you mail me
Authorized Signatory TDL with Company Seal in Tally ERP 9 || SEAL AND SIGN TDL
it is working on pdf export file, but while printing it overlap on banking details. please suggest what to do.
WHY NOT DOWNLOADING THE FILE
PLEASE PROVIDE A TDL WHICH INCLUDE THESE FEATURE IN ANY VOUCHER LIKE AS:
1) ITEM NAME
2) BAG
3) QTY
4) RATE
5) VALUE
ALSO SHOWS TOTAL OF ALL DETAILS IN ANY REPORTS.
Dear Sir,
How to add seal and sign in payment voucher.
tdl key
MERE PC ME E DRIVE HI NAHI HAI TO ME KAHA RAKHU SEGNATURE